Vinyl Patio Covers are Easy to Install
To install your vinyl pergola cover, follow the installation steps outlined below.
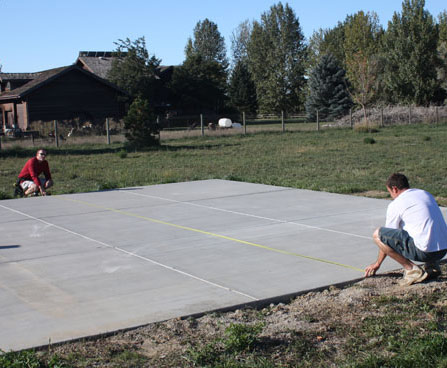 |
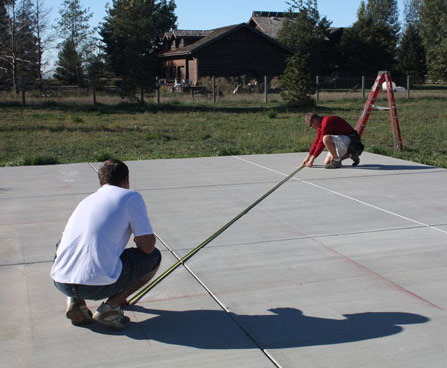
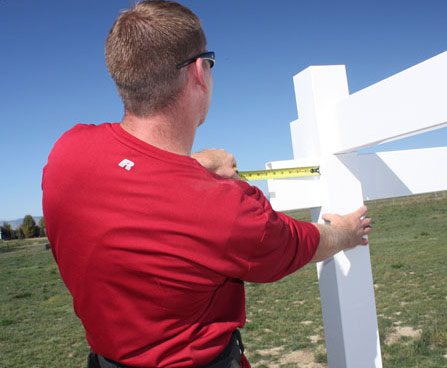
Measure patio dimensions to determine pergola location. |
 |
Determine the center of the patio. |
 |
Measure 1/2 of the projection and mark. |
 |
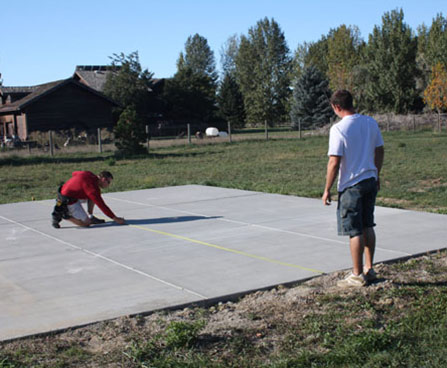
Repeat measuring for the remaining posts including measuring for the length. |
 |
Chalk line the perimeter at the marks. |
 |
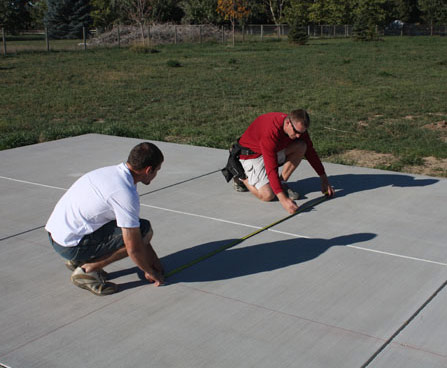
Chalk from post to post for the projection. |
 |
Repeat for the length. |
 |
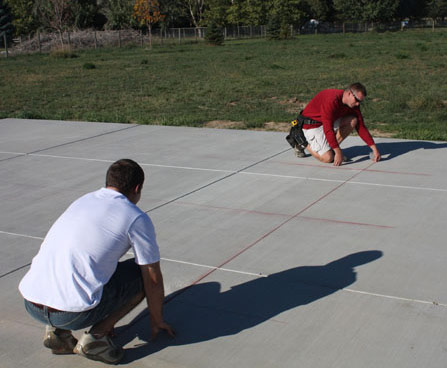
Measure diagonally to check for a square layout. |
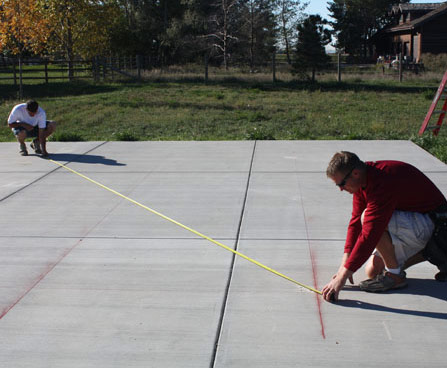 |
Adjust as needed to ensure both measurements are the same. |
 |
Note: Detailed written instructions for post bases are included with the kit.
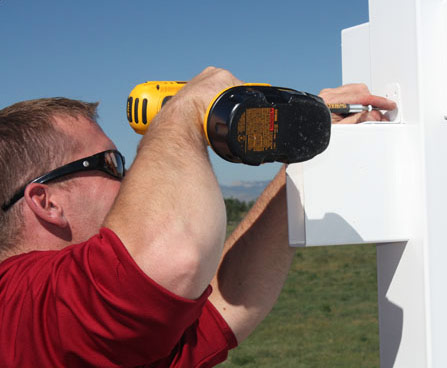
Using a post base plate as a template, mark and drill holes for the anchors. |
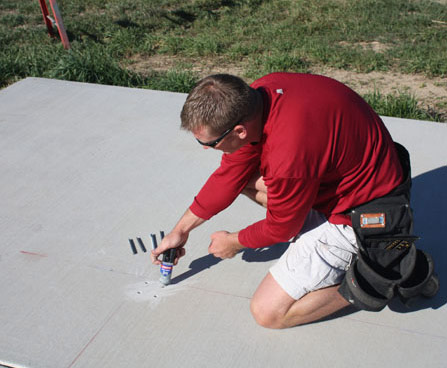 |
Dispense epoxy into the holes. |
 |
Install anchors |
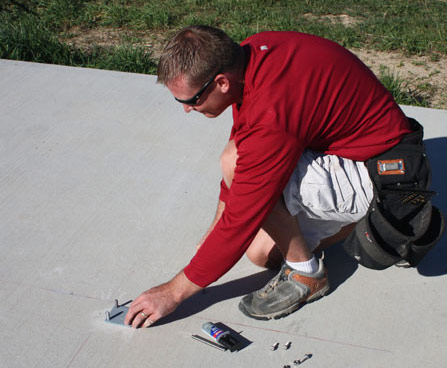 |
Install post base surface plate |
 |
Add leveling insert and square tubing. Adjust leveling nuts and tighten post base to the pad. |
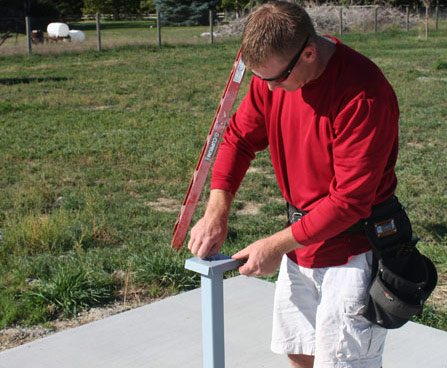 |
Install top post stabilizer |
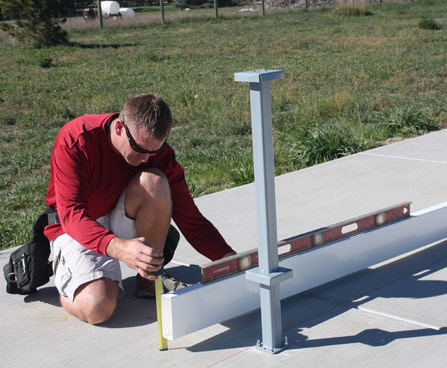 |
For a level installation, determining the pitch of the patio will be necessary. |
 |
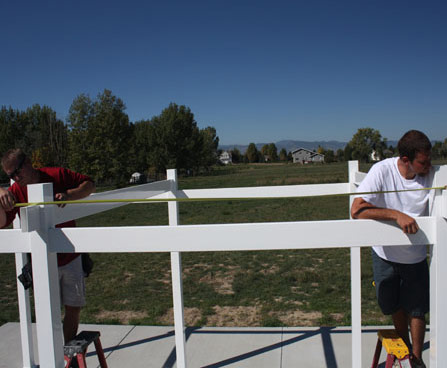
Measure and note the pitch from post to post for the projection. |
 |
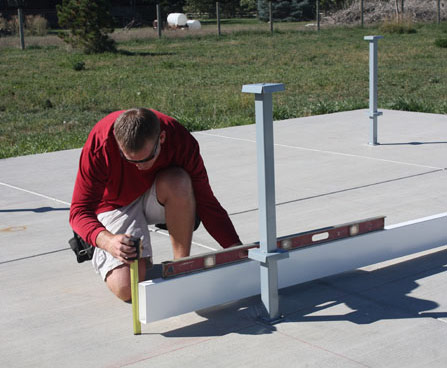
Repeat for remaining posts |
 |
Also check pitch running the length of the pergola.
Note: Double check results. Some patios pitch in more than two directions. |
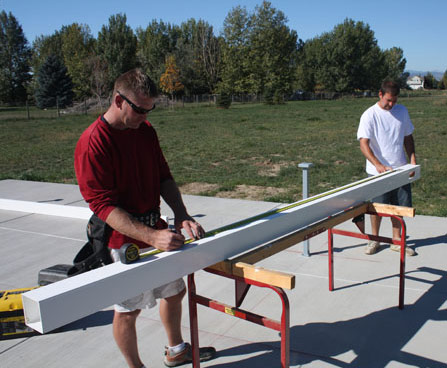 |
Decide on a height for the pergola and factor in the pitch of the patio then cut the posts. |
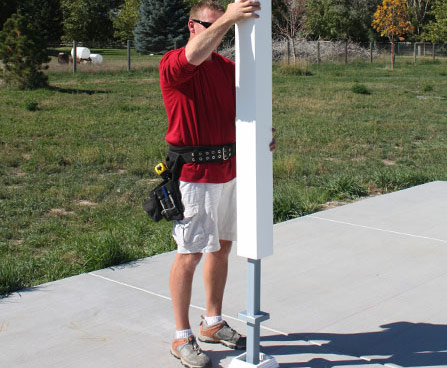 |
With the post trim ring in place, slide the pergola posts over the post bases until the post snaps into the trim ring.
Note: Be sure to have the beam and joist holes facing the correct direction. |
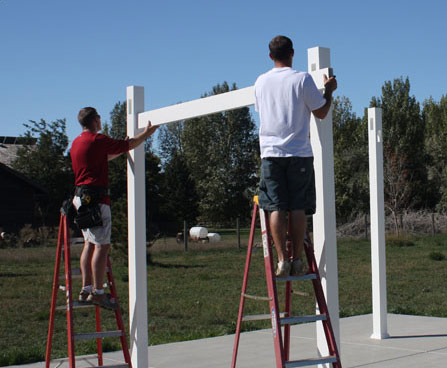 |
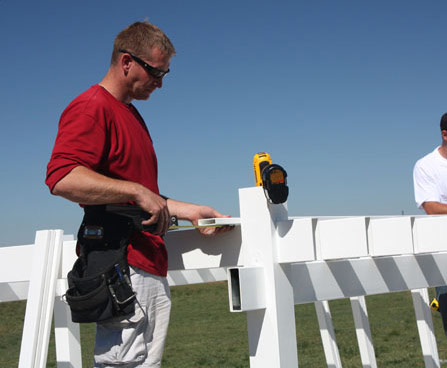
Slide the steel beam inserts into the vinyl beams and slide through the posts. |
 |
Install all remaining beams |
 |
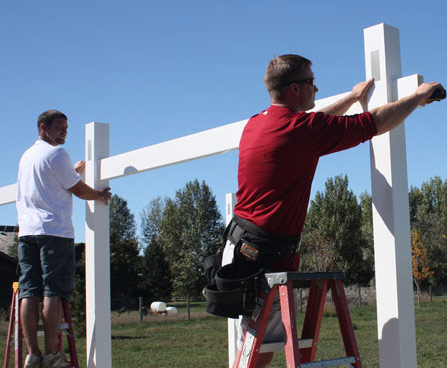
Install the joists by inserting them into the posts. |
 |
Install all joists going through the posts |
 |
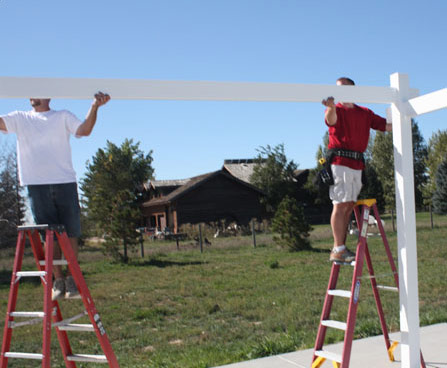
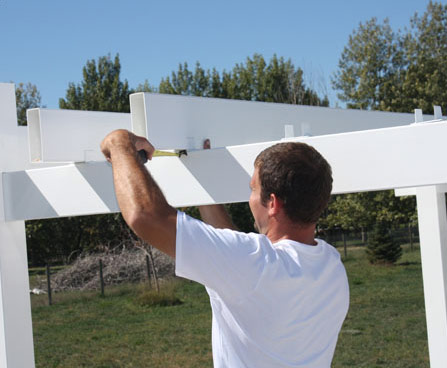
Make sure the same amount of 2×6 extends past the posts for the beams and joists. |
 |
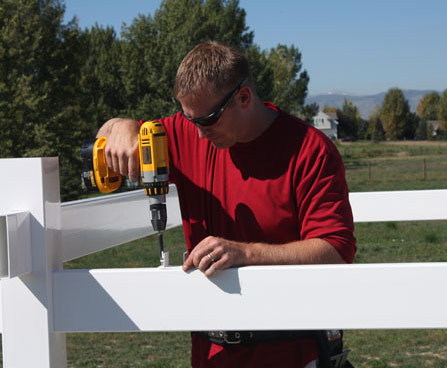
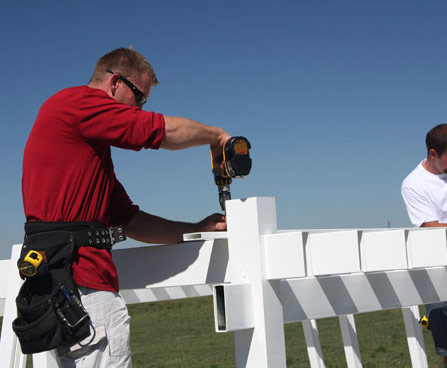
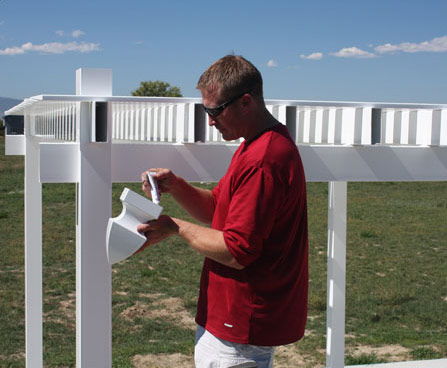
Screw the pergola “L” brackets into both sides of the posts, and into the joists and beams. |
 |
Repeat for “L” brackets for the joists. |
 |
Measure for the remaining joists to determine the joist spacing. |
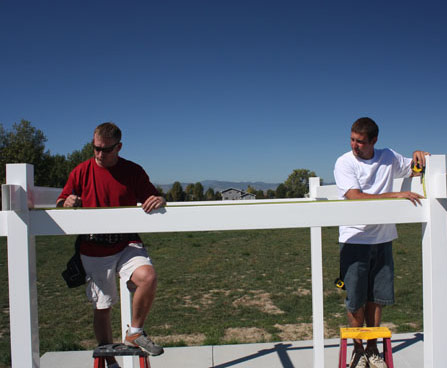 |
Mark for the joist to beam brackets. |
 |
Install all joist to beam brackets. |
 |
Install remaining joists. |
 |
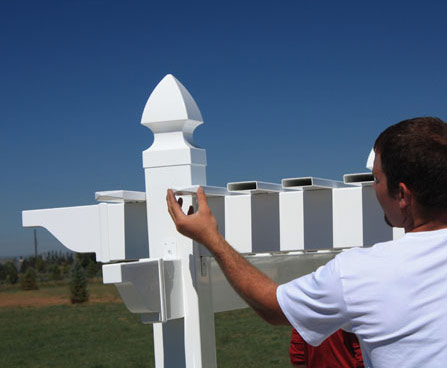
Install a shade slat next to the posts. |
 |
Install remaining slats at the pre-determined spacing. (3″ spacing is shown.) One slat will also be installed on the outside of the posts.
Note: screw slats until they are “snug” to the joist with one screw per slat per joist. Do Not Overtighten. |
 |
Install post caps and pergola ends using a small bead of glue inside each cap. |
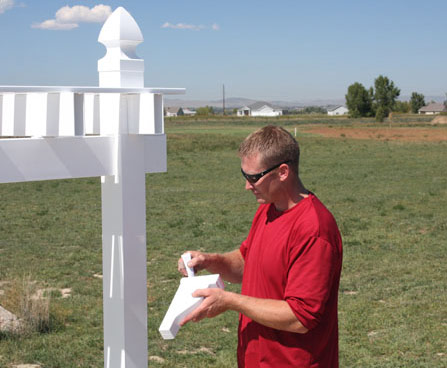 |
Continue with all remaining caps. |
 |
Snap shade slat caps into place. |
 |
Install all slat caps. |
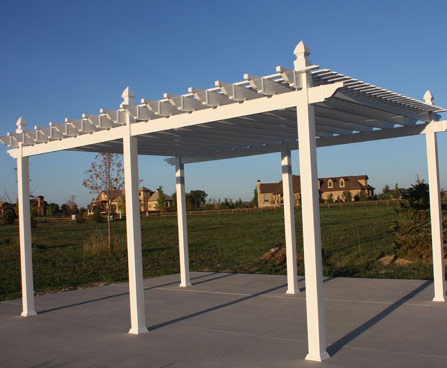 |
Enjoy! |